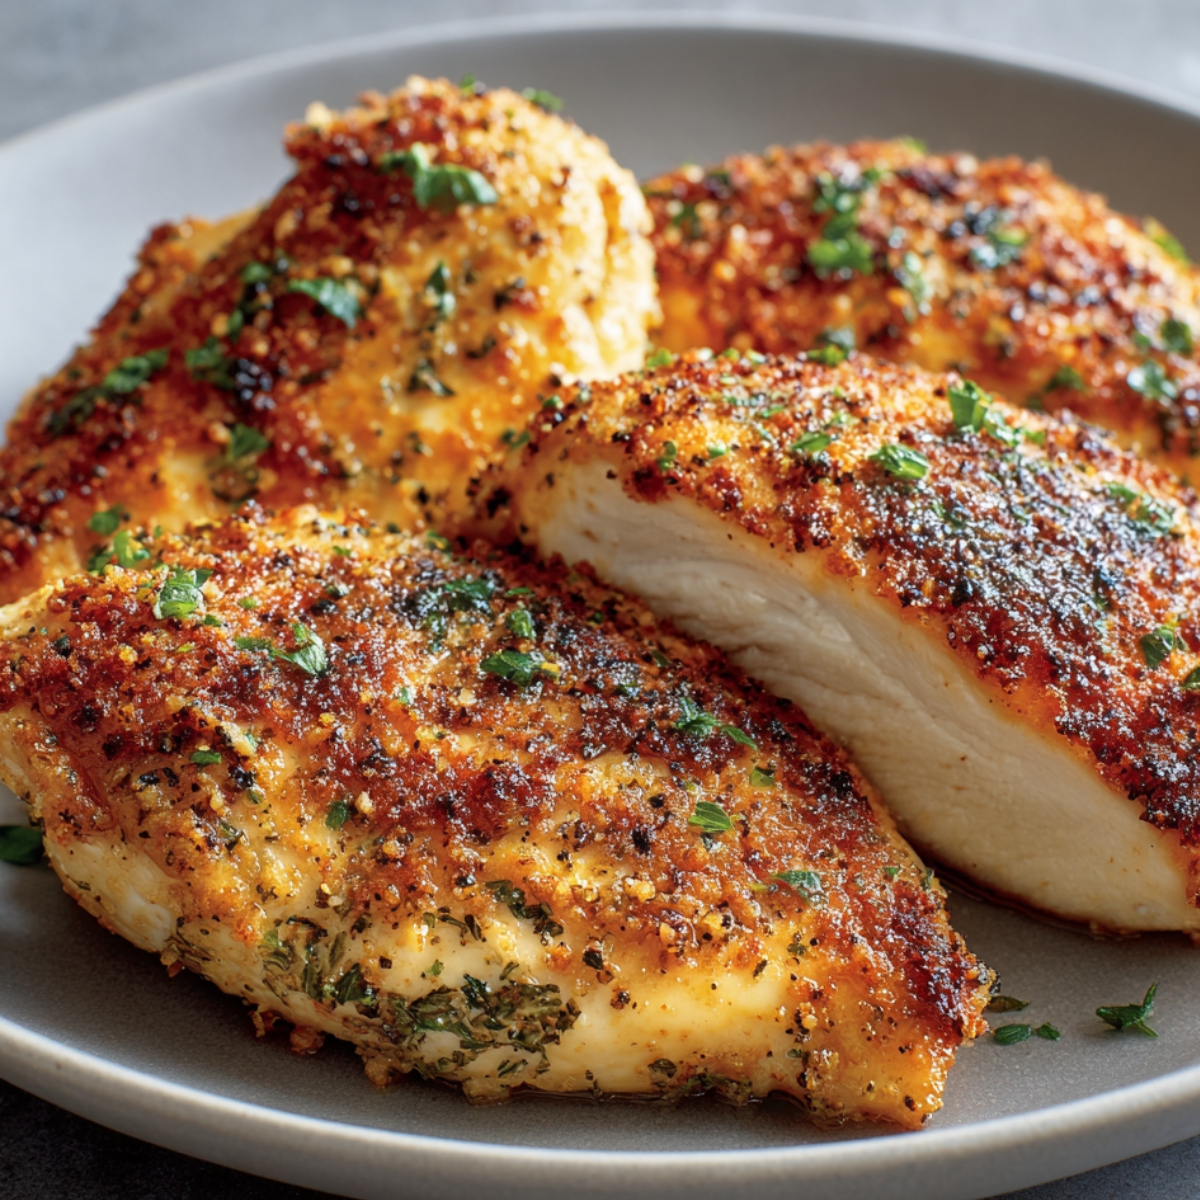
Three months ago, William announced he was "tired of boring chicken" and refused to eat plain grilled chicken breast anymore. Challenge accepted! That's when I created this incredible garlic parmesan chicken breast that's become our weeknight hero. After testing countless batches (our neighbors got very lucky with samples!), I've perfected this crispy garlic parmesan chicken that's juicy inside with a golden, cheese-crusted outside. The secret? A two-step coating method and the right oven temperature that creates restaurant-quality results without deep frying. Now William asks for "the fancy garlic chicken" at least twice a week.

Why You'll Love This Garlic Parmesan Chicken Breast
Made this enough times to know it beats frozen breaded chicken and takeout by miles. No deep fryer needed. No oil splatter mess. Just coat and bake. That parmesan crust gets golden and crispy. Inside stays incredibly juicy. One pan from start to finish. Ready in thirty minutes. Costs less than ordering out.
Takes ten minutes to bread. Rest is just baking. Can't really mess it up. Overcooked once, still tasted good just drier. Undercooked another time, just popped it back in five more minutes. Hard to ruin when you use a meat thermometer. William loves this because it's "crunchy like chicken tenders but fancier" and he can dip it in ranch without judgment.
Jump to:
- Why You'll Love This Garlic Parmesan Chicken Breast
- Ingredients for Garlic Parmesan Chicken Breast
- How To Make Garlic Parmesan Chicken Breast Step By Step
- Smart Swaps for Garlic Parmesan Chicken Breast
- Delicious Twists on Garlic Parmesan Chicken Breast
- equipement for Garlic Parmesan Chicken Breast
- Storing Your Garlic Parmesan Chicken Breast
- Top Tip
- FAQ
- Perfect Pairings
- Related
- Pairing
- Garlic Parmesan Chicken Breast
Ingredients for Garlic Parmesan Chicken Breast
For the Chicken:
- 4 boneless, skinless chicken breasts
- Salt and black pepper
- 1 teaspoon Italian seasoning
- ½ teaspoon garlic powder
- ½ teaspoon onion powder
For the Coating:
- 1 cup panko breadcrumbs
- 1 cup freshly grated Parmesan cheese
- 1 teaspoon dried parsley
- 1 teaspoon dried basil
- ½ teaspoon paprika
- ¼ teaspoon cayenne pepper (optional)
For the Wet Dip:
- 2 large eggs
- 2 tablespoons whole milk
- 3 cloves garlic, minced
- Salt and pepper to taste
For Cooking:
- 3 tablespoons butter, melted
- 2 tablespoons olive oil
- Cooking spray
For Garnish:
- Fresh parsley, chopped
- Lemon wedges
- Extra Parmesan cheese
- Fresh garlic chips (optional)
How To Make Garlic Parmesan Chicken Breast Step By Step
Prep Your Chicken
Start by patting your chicken breasts completely dry with paper towels - moisture is the enemy of crispy coatings. Place each breast between two sheets of plastic wrap and gently pound with a meat mallet until they're even thickness, about ¾ inch throughout. This step is crucial for juicy chicken because thin areas overcook while thick parts are still raw. Season both sides generously with salt, pepper, Italian seasoning, garlic powder, and onion powder. Let them sit at room temperature for 15 minutes while you prep your coating stations - this helps them cook more evenly.
Set Up Your Breading Station
Preheat your oven to 425°F and line a baking sheet with foil, then place a wire rack on top and spray with cooking spray. Set up three shallow bowls: first bowl gets eggs beaten with milk, minced garlic, salt and pepper. Second bowl stays empty for now. Third bowl gets your panko breadcrumbs mixed with grated Parmesan, dried herbs, paprika, and cayenne if using. Mix the melted butter and olive oil together in a small bowl. This assembly line makes breading efficient and keeps one hand dry for clean work - trust me, you'll appreciate this organization!
Bread to Perfection
Using your dry hand, dip each chicken breast into the egg mixture, letting excess drip off. Transfer to the breadcrumb-Parmesan mixture and press firmly on both sides, making sure every bit is coated - bare spots won't get crispy. Place breaded chicken on your prepared wire rack, spacing them apart. Once all chicken is breaded, use a pastry brush to drizzle the butter-oil mixture over the tops of each piece. This fat helps the coating turn golden brown and adds incredible flavor. The wire rack is key - it allows hot air to circulate underneath, preventing soggy bottoms that plague pan-baked chicken.
Bake to Golden Perfection
Bake at 425°F for 20-25 minutes until the coating is golden brown and crispy. Don't open the oven for the first 15 minutes - you'll let out heat and the crust won't set properly. Check internal temperature with a meat thermometer inserted into the thickest part - you want exactly 165°F. If the tops aren't as golden as you'd like but the chicken is cooked through, turn on the broiler for 1-2 minutes, watching closely to prevent burning. The coating should be deep golden and crispy, while the chicken stays incredibly juicy inside. Remove from oven and let rest 5 minutes before serving.
Serve in Style
Transfer your crispy golden chicken coating masterpieces to a serving platter. Brush with any remaining butter mixture for extra shine and flavor. Garnish with freshly chopped parsley, a sprinkle of extra Parmesan, and lemon wedges on the side. The lemon brightens the rich, cheesy flavors beautifully. Serve immediately while the coating is at peak crispiness. If you wait too long, steam from the hot chicken can soften that perfect crust you worked so hard to achieve.
Smart Swaps for Garlic Parmesan Chicken Breast
Protein Options:
- Chicken breasts → Chicken thighs (add 5 minutes baking)
- Regular → Turkey cutlets
- Poultry → Pork chops (same method)
- Fresh → Frozen (thaw completely first)
Coating Alternatives:
- Panko → Regular breadcrumbs (less crispy)
- Breadcrumbs → Crushed cornflakes (extra crunchy)
- Wheat → Almond flour (low carb)
- Regular → Pork rind crumbs (keto-friendly chicken recipe)
Cheese Choices:
- Parmesan → Pecorino Romano (sharper)
- Regular → Asiago cheese
- Dairy → Nutritional yeast (vegan, use ½ cup)
- Fresh → Pre-shredded (not ideal but works)
For Dairy-Free:
- Butter → More olive oil
- Milk → Water in egg wash
- Parmesan → Vegan parmesan or omit
Delicious Twists on Garlic Parmesan Chicken Breast
Creamy Garlic Parmesan Chicken:
- Make cream sauce separately
- Heavy cream + garlic + Parmesan
- Simmer until thick
- Pour over crispy chicken
Buffalo Wild Wings Style:
- Add hot sauce to egg wash
- Extra garlic in coating
- Toss in garlic parmesan wing sauce
- Serve with ranch
Italian Herb Version:
- Double the Italian seasoning
- Add fresh rosemary
- Mix in sun-dried tomatoes
- Serve with marinara
Lemon Garlic Twist:
- Add lemon zest to coating
- Fresh lemon juice after baking
- Lighter, brighter flavor
- Perfect for summer
Spicy Kick:
- Add red pepper flakes
- Cayenne in coating
- Drizzle with hot honey
- Not for kids!
equipement for Garlic Parmesan Chicken Breast
- Rimmed baking sheet
- Wire cooling rack (oven-safe)
- Meat thermometer
- Meat mallet
- Three shallow bowls
- Pastry brush
Storing Your Garlic Parmesan Chicken Breast
Fridge (3-4 days):
- Cool completely first
- Airtight container
- Separate layers with parchment
- Reheat at 350°F for 10 minutes
Freezer (2 months):
- Flash freeze on tray first
- Wrap individually in foil
- Store in freezer bags
- Thaw overnight before reheating
Reheating for Crispiness:
- Never microwave (gets soggy)
- Oven at 350°F on wire rack
- 10-12 minutes until hot
- Broil 1 minute if needed
Make-Ahead Option:
- Bread chicken, don't bake
- Refrigerate up to 8 hours
- Bake fresh when ready
- Coating stays crispier
Top Tip
- For weeks, I struggled with soggy bottoms on my baked chicken. No matter what I tried, the underside never got crispy. Then one afternoon, William was helping me set up for a different recipe that used a wire rack. He asked, "Why don't we put the chicken on this thing like cooling cookies?"
- That seven-year-old logic changed everything! Using a wire rack elevates the chicken, letting hot air circulate all around it. The bottom stays as crispy as the top. Now I can't believe I spent months baking chicken directly on pans. Sometimes the best cooking tips come from the most unexpected places.
- Our other game-changer was learning to let the breaded chicken rest for 5 minutes before baking. This lets the coating "set" and stick better to the meat. My friend who's a restaurant chef told me this trick, and she was right - the coating stays on perfectly instead of sliding off in patches. These two simple techniques transformed my one-pan chicken dinner from decent to restaurant-quality.
FAQ
How to cook Garlic Parmesan Chicken Breast?
To cook Garlic Parmesan Chicken Breast perfectly, start by pounding chicken breasts to even thickness, then set up a three-step breading station with seasoned egg wash, and a mixture of panko breadcrumbs with freshly grated Parmesan cheese. Add minced garlic to your egg mixture for maximum flavor. Bread each piece thoroughly, place on a wire rack over a baking sheet, and drizzle with melted butter mixed with olive oil. Bake at 425°F for 20-25 minutes until the internal temperature reaches 165°F. The high heat creates that crispy parmesan crust while keeping the inside juicy. For extra garlic flavor, you can also add roasted garlic cloves on top during the last 5 minutes of baking.
What temperature to bake Garlic Parmesan Chicken Breast?
The ideal temperature for baking parmesan chicken is 425°F. This high heat is crucial for achieving that golden brown chicken with Garlic Parmesan Chicken Breast crust while keeping the meat juicy. Lower temperatures (like 350°F) won't crisp the coating properly and can actually dry out the chicken before the crust browns. If your oven runs hot, you can reduce to 400°F, but you'll need to add 5 minutes to the cooking time. Always use an oven thermometer to verify your actual oven temperature - many ovens run 25 degrees off, which significantly affects results. The coating should be deep golden and crispy at 425°F in exactly 20-25 minutes for average-sized breasts.
How long should I cook frozen Garlic Parmesan Chicken Breast in the oven at 400 degrees?
Never cook frozen chicken for breaded recipes like this Garlic Parmesan Chicken Breast the coating won't adhere properly and the chicken will steam instead of crisp. Always thaw chicken completely in the refrigerator overnight before breading and baking. If you're in a pinch, thaw sealed chicken in cold water for 1-2 hours, changing water every 30 minutes. For plain frozen chicken breasts (unbreaded) at 400°F, you'd need 50-60 minutes, but this doesn't apply to coated chicken. For best results with this recipe, plan ahead and thaw your chicken properly - the crispy coating depends on it!
How to stop Garlic Parmesan Chicken Breast from getting soggy?
Preventing soggyGarlic Parmesan Chicken Breast comes down to three key techniques: First, use a wire rack instead of placing chicken directly on the baking sheet - this allows air circulation underneath so moisture can escape. Second, make sure your chicken is completely dry before breading, and let the breaded chicken rest for 5 minutes before baking so the coating sets properly. Third, bake at high temperature (425°F) to quickly crisp the coating before moisture from the chicken can make it soggy.
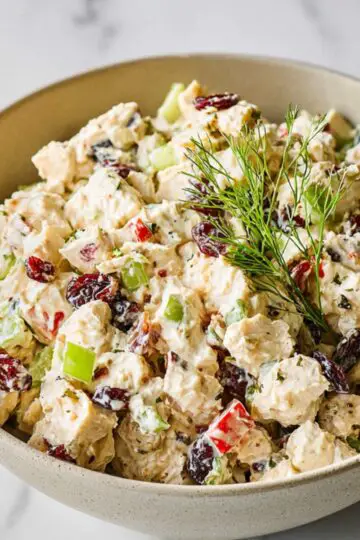
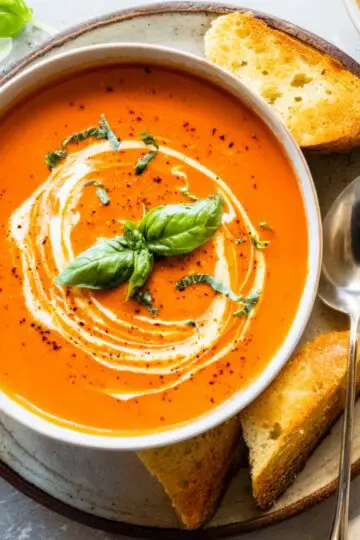
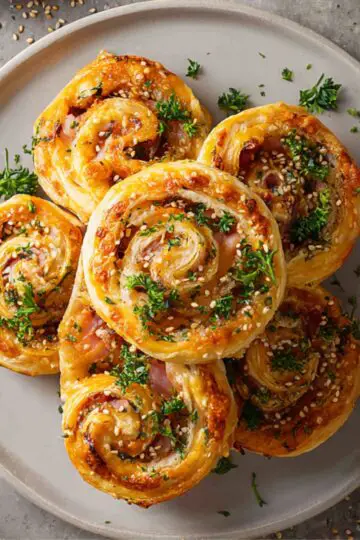
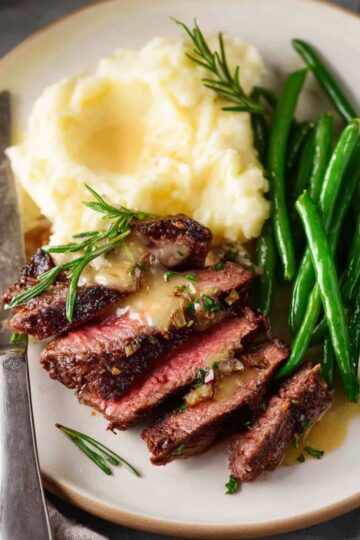
Perfect Pairings
Now you know how to create this crispy garlic parmesan chicken breast that beats any restaurant version! This Italian-inspired dinner idea proves that simple ingredients can create impressive meals.
Looking for more family favorites? Cool down after dinner with our Easy Brownie Milkshake Recipe that's pure chocolate heaven. Need another comfort classic? Try our Delicious German Hamburgers Recipe that combines two favorites in one dish. Craving international flavors? Our Healthy Red Lobster biscuit chicken pot pie brings authentic European taste to your table!
Share your Garlic Parmesan Chicken Breast success! We love seeing your golden creations!
Rate this recipe and join our weeknight dinner community!
Related
Looking for other recipes like this? Try these:

Pairing
These are my favorite dishes to serve with Garlic Parmesan Chicken Breast


Garlic Parmesan Chicken Breast
Ingredients
Equipment
Method
- Pound chicken evenly, season generously with spices, and let rest at room temperature for juicier, even cooking results.

- Prepare three bowls for egg wash, breadcrumb-parmesan mix, and butter-oil blend to organize the breading process cleanly.
- Dip each chicken breast in garlic egg wash, coat with parmesan-panko mixture, and press firmly for full crisp coverage.
- Bake at 425°F for 20-25 minutes on a wire rack until golden brown, crispy outside, and perfectly juicy inside.
- Rest chicken 5 minutes, garnish with parsley and lemon, and serve immediately for the best crunchy texture.


Leave a Reply